 18 Mar, 2026
 Industry News Design & Manufacturing
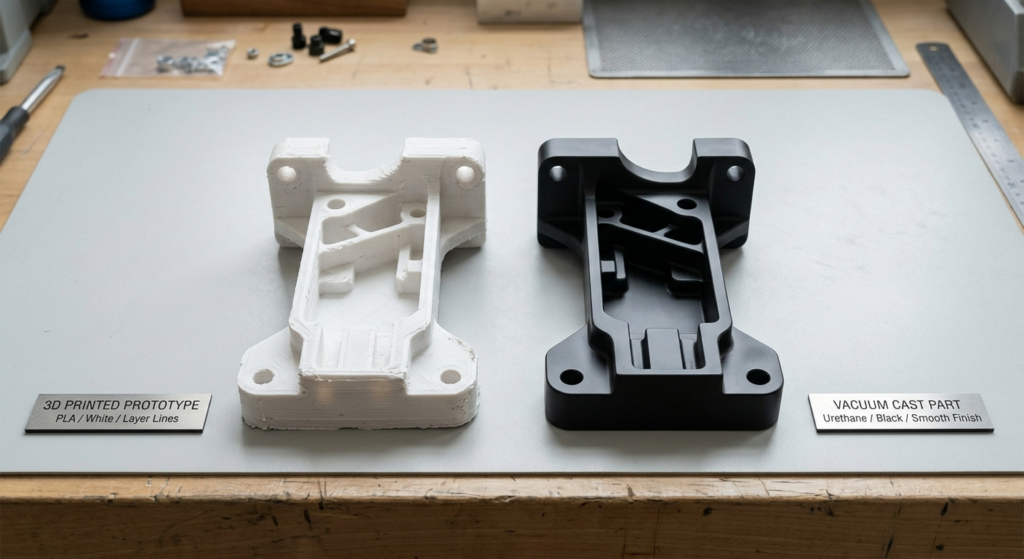
For a true 50-piece run, vacuum casting almost always wins on cost and consistency — but only if your design is finalized. If you’re still tweaking geometry between units 10 and 40, 3D printing is the smarter call despite the higher per-part price. The real decision hinges on one question: is this batch a finished design going to customers, or a design still proving itself?
Most people assume there’s a clean crossover quantity where 3D printing stops making sense and casting takes over. There isn’t — not exactly. But 50 parts sits right in the messy middle where the math genuinely could go either way, which is exactly why so many buyers guess wrong.
Below 10-15 units, 3D printing wins almost every time. Tooling costs for vacuum casting just don’t amortize fast enough. Above 100-150 units, injection molding starts looking cheaper than both options. Fifty parts is the awkward zone where your design maturity, not your unit count, becomes the deciding factor.
A silicone mold used for vacuum casting typically degrades after 20-25 pulls before dimensional accuracy drifts. For a 50-piece order, that means cutting two molds from one master pattern — a detail that changes your cost math and one a lot of quoting tools quietly skip.
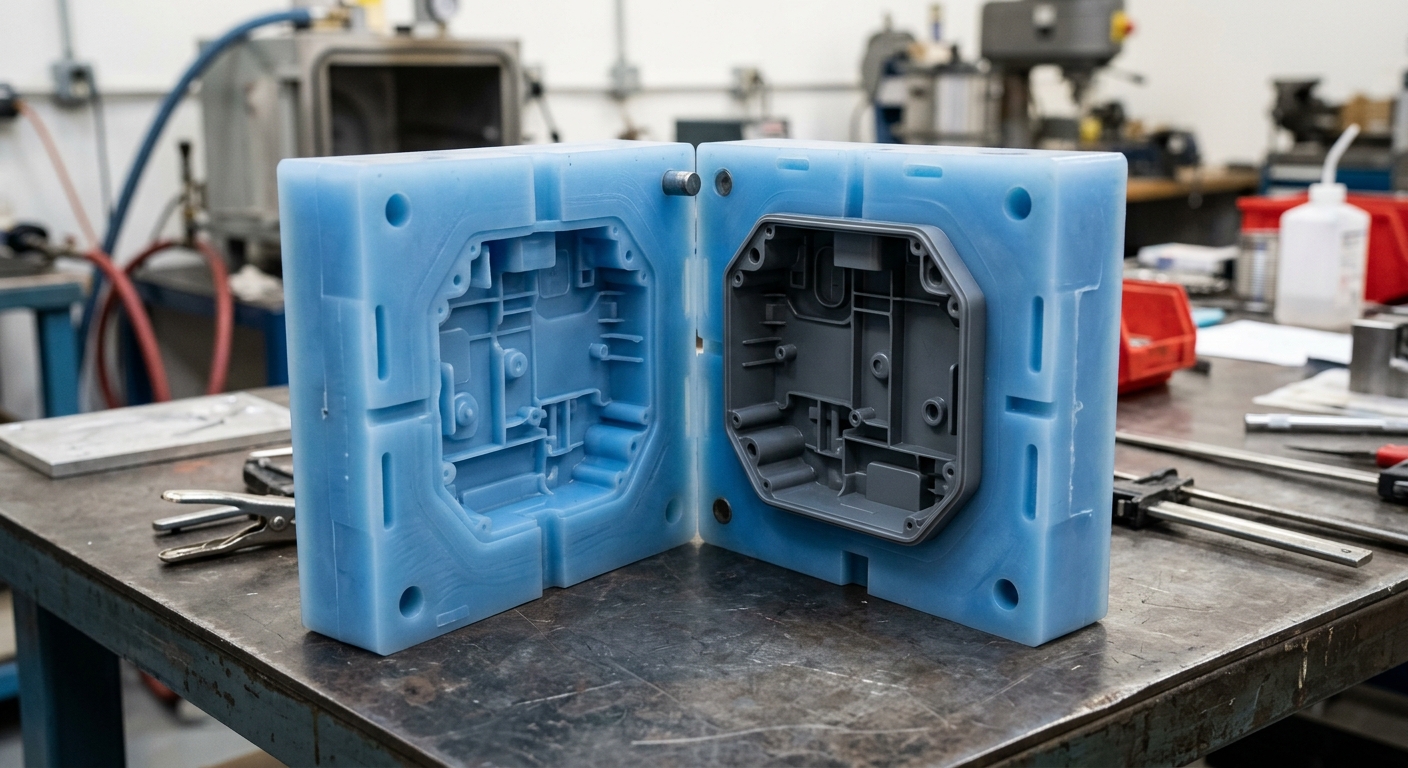
Vendors love quoting per-part price without showing the fixed cost buried underneath. Here’s what actually happens on a 50-unit order.
Vacuum casting: expect $500-1,500 for a CNC-machined or SLA master pattern, plus $200-400 per silicone mold (you’ll need two for 50 pulls). Per-part material and labor runs $10-25 depending on complexity. Total for 50 parts: often $1,800-3,500, landing around $35-70/part all-in.
3D printing: no tooling, but per-part cost stays stubbornly flat because print time, resin, and labor don’t shrink with volume. SLA or SLS runs $25-80 per part depending on size and material, so 50 units costs $1,250-4,000 — sometimes cheaper than casting, sometimes not.
Simple geometry, small parts (under 100g)? Printing often wins even at 50 units. Larger parts with soft-touch overmolding or rubber-like features? Casting wins decisively — printing simply can’t replicate cast urethane’s feel and durability without expensive multi-material machines.
| Scenario | Likely Winner |
|---|---|
| Small, simple part, still iterating design | 3D Printing |
| Finalized design, needs consistent cosmetic finish | Vacuum Casting |
| Rubber-like or overmolded features | Vacuum Casting |
| Mixed geometries across the batch | 3D Printing |
If your 50 parts are going straight to end customers or a trade show, surface finish isn’t cosmetic — it’s the whole pitch. Vacuum cast parts come out of the mold looking almost injection-molded: smooth, consistent, ready for light sanding and paint. 3D printed parts, even from resin SLA machines, carry visible layer lines that need hand-finishing to hide.
For instance, a consumer electronics startup preparing 50 enclosures for a crowdfunding demo video chose vacuum casting specifically because every unit needed to look identical on camera — no visible print lines, no inconsistent gloss between units. Printing all 50 would have meant 50 separate post-processing jobs with slightly different results each time.
Compare that to a mechanical bracket destined for internal testing. Nobody cares about layer lines on a part that’s getting bolted inside a housing. That’s a printing job every time, even at 50 units.
Curious how finishing choices affect part appearance more broadly? Our guide to surface finishing options covers what’s achievable across different manufacturing methods.
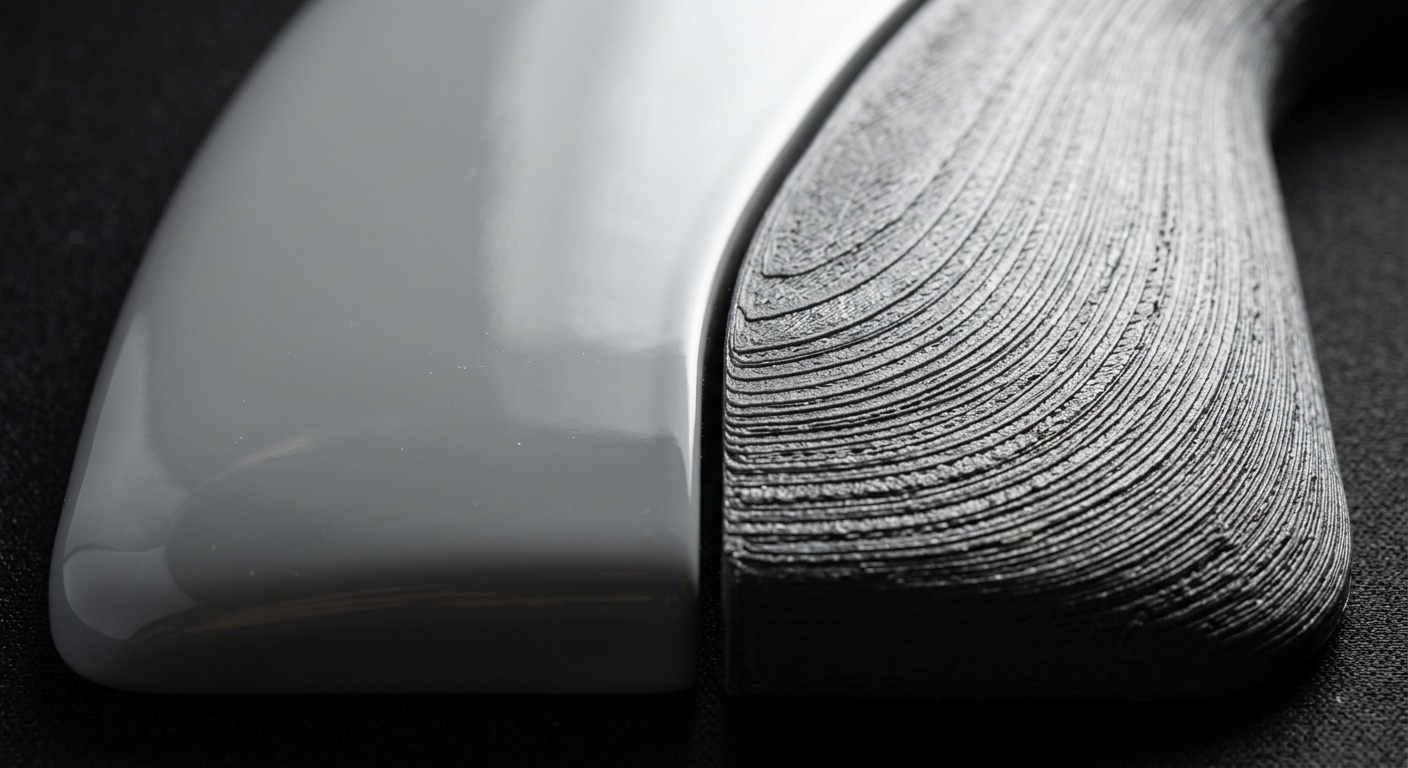
Vacuum casting resins are formulated to mimic specific engineering plastics — ABS-like, PC-like, PP-like, and true elastomers ranging from 30-90 Shore A. That range matters if your 50 parts need to simulate final production material behavior, not just shape.
3D printing materials are improving, but they’re still their own chemistry. A printed nylon part behaves differently under stress than injection-molded nylon. A cast urethane part formulated to mimic ABS behaves much closer to the real thing — same flex, similar impact resistance, comparable feel in hand.
If your 50-piece batch is functional prototypes headed for user testing before a big manufacturing decision, that material fidelity is worth the extra lead time. If you’re just checking fit and form, it isn’t worth paying for.
For a broader look at plastic selection tradeoffs, see our breakdown of plastics for CNC machining, which covers similar mechanical-property tradeoffs relevant here.
Everyone assumes 3D printing wins on speed. For a single part, sure. For 50 parts, the math flips more often than people expect.
A single SLA printer running one part at a time might take 45-90 minutes per unit depending on size, plus post-cure and cleaning. Fifty units means either a very long printer queue or multiple machines running in parallel — and most shops don’t have ten idle printers waiting for your job.
Vacuum casting has a slower start (5-7 days to build the master pattern and cut the mold) but then produces parts fast — often 20-30 minutes of cure time per pull, with multiple cavities poured simultaneously in some shops. Once the mold exists, 50 parts can come off in under a week.
Net result: printing wins if you need the first part tomorrow. Casting wins if you need all 50 parts by a fixed delivery date two weeks out.
Here’s the mistake that costs people real money: locking in a vacuum casting mold before the design is actually done. Change a wall thickness or boss location after the mold is cut, and you’re paying for a second master pattern and mold from scratch — often $700-1,900 wasted.
If there’s any chance your 50-piece batch includes a design revision partway through (a common scenario when parts double as both functional test units and customer samples), split the run. Print the first 10-15 for validation, then cast the remaining 35-40 once the design is frozen. It costs a bit more in printing fees but saves you from re-tooling a mold that’s already obsolete.
This hybrid approach is more common than people admit — it’s not a compromise, it’s smart risk management.
Fifty parts is rarely the final number — it’s usually a bridge quantity before a bigger commitment. Ask your manufacturing partner upfront how your process choice affects the transition to injection molding or CNC machining down the line.
Vacuum cast parts and their master patterns can sometimes inform tooling design for injection molds later, giving you a head start. Printed parts, especially SLA models, are great for design validation but won’t translate directly into production tooling data.
If your longer-term plan involves precision machined components alongside cast or printed housings, it’s worth understanding how tight your tolerances actually need to be before committing to either process for this batch.